Showing posts with label UI. Show all posts

Sunday, October 5, 2025

UI Progress

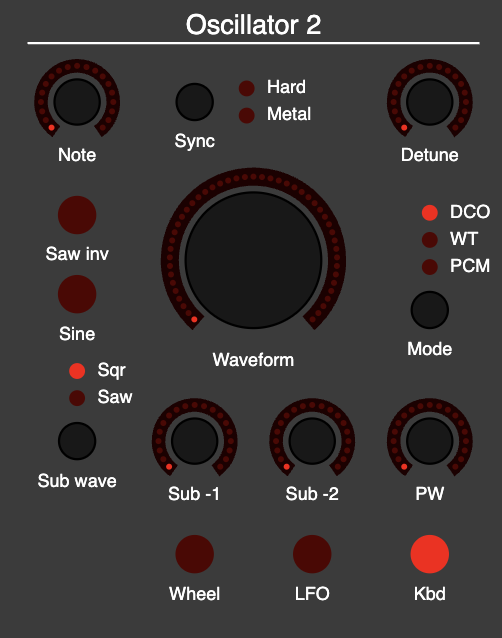
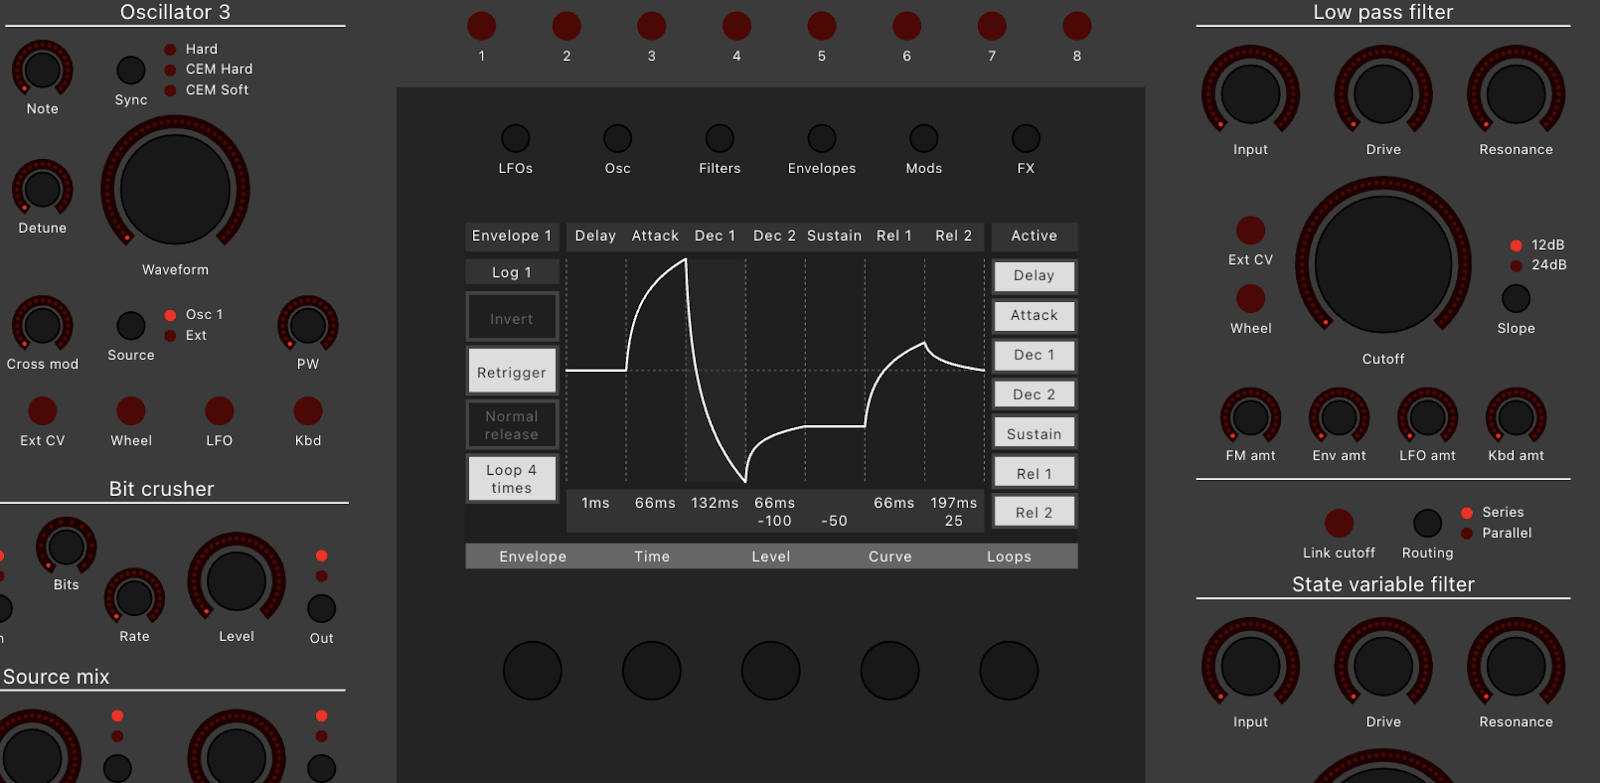
I've cleaned up most of the UI now, though it's far from finished. The output and global fx sections will not be completed until the hardware is developed, the same goes for the center console. Still, it's starting to look pretty good.

Right now, the design is strongly inspired by (some would say ripped off from) the Waldorf Quantum Mk I and II, Matrixbrute and Polybrute, with a dash of Moog One and Alesis Andromeda - incidently, all those synths are designed by Axel Hartmann...

Colors are hard though, and even harder when various degrees of shinyness are not visible in my current model. 

Here are some variations:


A Polybrute blue version, with a large black acrylic sheet in the center

 
A more Quantum-esque center display


Slightly darker module color

  
A black with lighter modules version


A version closer to the original Quantum MkI or Matrixbrute, with black modules on a lighter gray background


A more color coded version, dark modules are "audio", mid gray are modulation and light gray are global. Keyboard stuff is now directly on the background

Same as above but more Quantum-esque display again


Introduced vertical separation lines. They don't line up with the clock/route divider which annoys me. It can be fixed by switching osc modulators and note/detune, but that feels wrong too. I like the divider between noise and ring mod though


Added waveform icons


Wednesday, November 8, 2023

UI update

I've been thinking a bit about the UI lately, and especially how to control the LED dials. I've previously found some nice constant current LED driver mux'es. They have 16 channels, which I can use to multiplex the (up to) 31 diodes of a led dial.

But 16 channels may be split into 8 x 8 = 64 channels, meaning I can drive at least TWO dials from a single controller.

Thus, I went back to see if I could group dials a bit smarter so I can put two and two dials on a PCB with one shared multiplexer. Also, it would be cool if I could make "modules" for the UI so I can make multiple copies of various boards, which is significantly cheaper than one-offs.


Here is a restructuring of the left hand side, this made me rethink the structure and ended up actually solving some issues I had with the natural flow - now I have sources top/left, then the source mixer and finally fx. Much better.

Before restructuring


After restructuring - now fx pots align vertically, and LFO stuff aligns with clock/arp. I've also managed to squeeze in an additional LFO pot and some buttons, and replaced the LFO selector switches and made a better (two sided) shape selector.

As for other modules: I will try to make a PCB that can work with both DCO/VCOs and Filters, though the SVF slope selector is a bit of an unsolved case:


I will probably replace the Ext CV/Wheel/LFO/Kbd buttons with pots, and space them the same as for the filters

I will have to change the size of the top pots to match the oscillators. The Slope selector is a bit anoying, perhaps I can make boards that break apart making it possible to remove the selector bit


The envelopes are of course identical, except for an additional button on Env 3:


Also, the output mixer and pan/fx send modules are similar and could maybe even use the dual led rings from the source mixer/left side


There are still quite a few special modules, like everything in the lower part of the screen, but every little simplification helps!

Latest version of the front panel


Thursday, April 21, 2022

Have I shown you the UI yet?

I can't remember if I've actually posted what the XM8 UI looks like? 

I am doing a working midicontroller webapp that is at the same time a millimeter perfect SVG, this makes it possible for me to test the voice cards without having a physical controller, and at the same time decide on what the UI should look like.

Here is the first version:

I initially thought I would have an external screen/pad but decided that would be annoying, so the second version has a built-in 9 inch screen:


I can even develop the code for the screen and run it on my controller, as everything is typescript/react.js based:


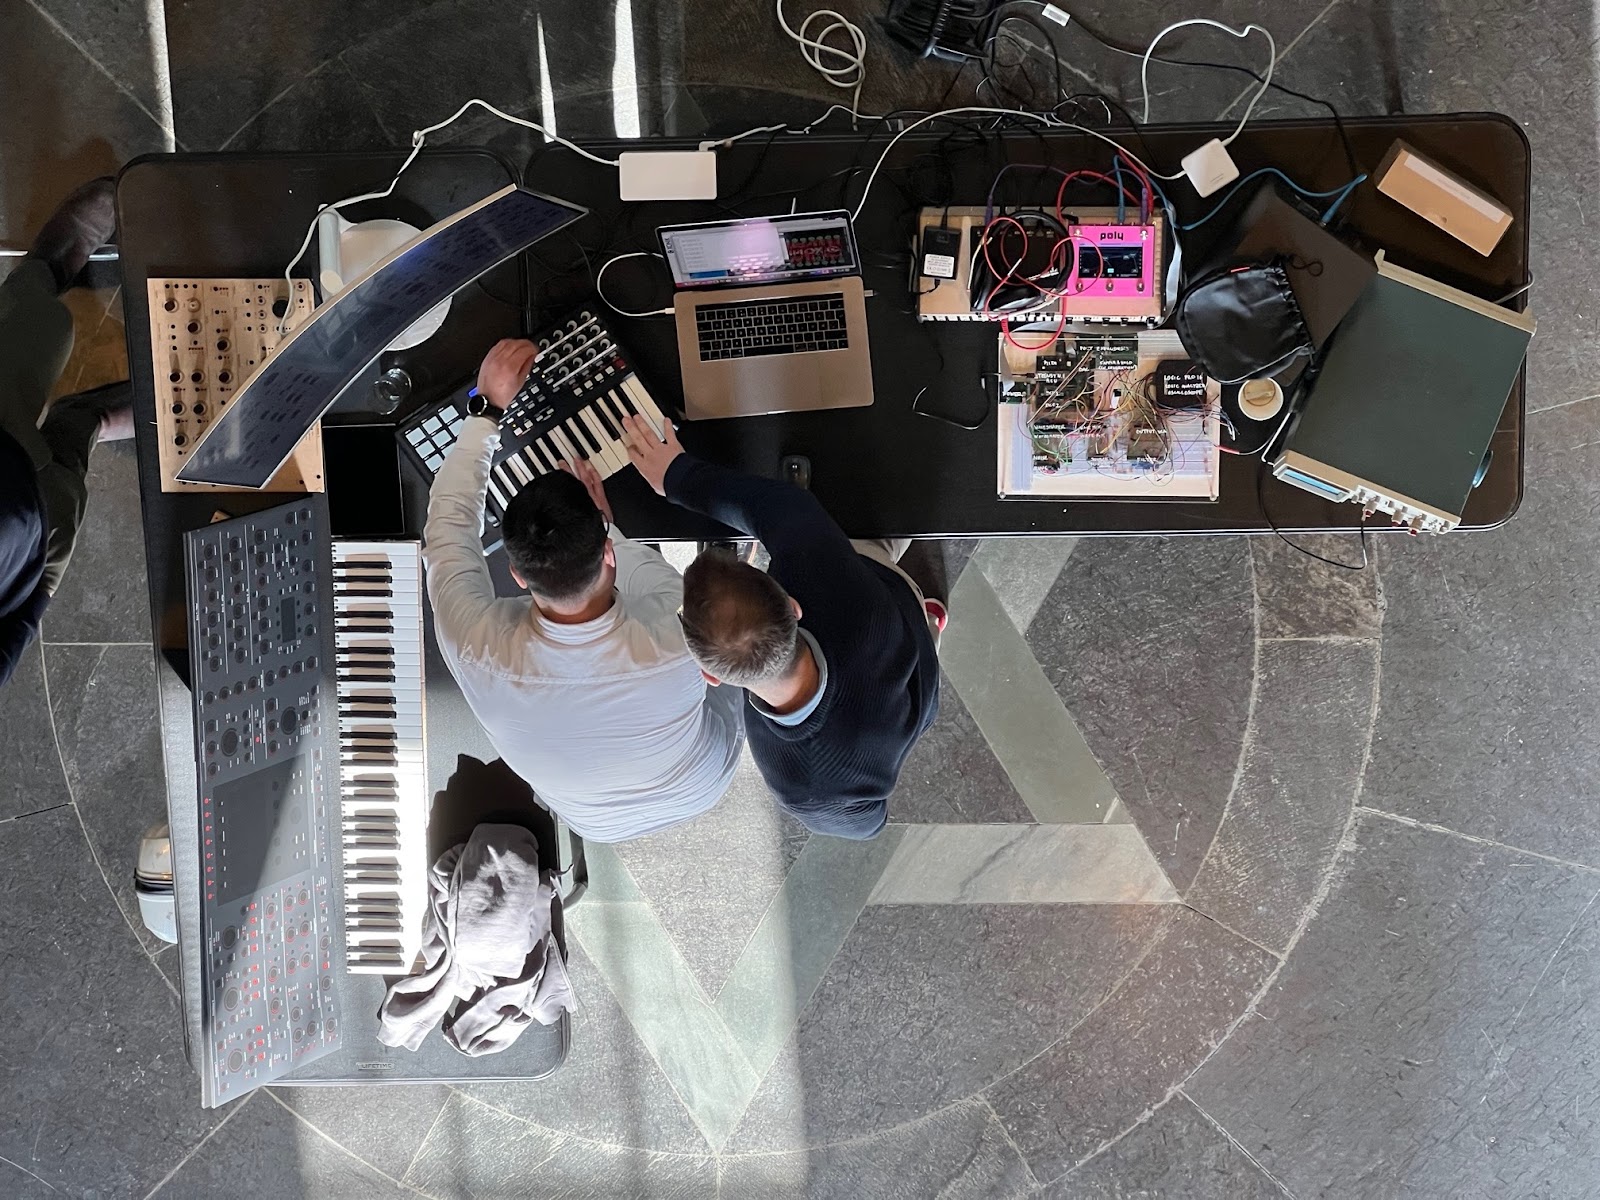
Here are some shots from when I presented the synth at a conference. I made a fullsize mockup of the UI (bottom left), complete with a five octave fatar keybed:


The voice circuits. Everything gets better with a bit of bubbles, right?

Not a very good picture, but it does give an impression of the size of this thing:


Sunday, July 19, 2020

Oscillator UI

Just an initial sketch, let user morph between waveforms, and select what waveforms should be included in the morph:

By selecting only certain waveforms for morphing means one can start a morph by a modulation source at a different point than sine.

How to select various stuff for modulation by various sources needs to be investigated.

Tuesday, March 31, 2020

UI/front panel design - living post

Here I'll post stuff about the UI that comes up during my research.

Endless potentiometers:


Also known as 360 degree pots - carbon potentiometers without an end stop. Alpha has one that has two carbon paths, making it possible to sense position and direction, and the paths have no jump in resistance at the end but rather increase then decrease. Can be used if we want more steps than an encoder can offer.

Lifetime for both pots and encoders from Alpha is 15000 turns.

One example is Alpha RV112FF

https://hackaday.io/project/171841-driveralgorithm-for-360-deg-endless-potentiometer
https://forum.arduino.cc/index.php?topic=531613.0


IDEA: For filter, use a "finger dial" like the data wheel on the Native Instruments KORE 2, with an option to do a fine grained sweep by pressing "shift" (this could really be an option for all pots, with a common shift somewhere).

Encoders: 


24 pulse/24 detent https://www.reichelt.com/de/en/alps-stec12e-rotary-pulse-encoder-24-24-vert-w-pb-stec12e08-p73923.html

Alternatives (like without detents):
https://tech.alpsalpine.com/prod/e/html/encoder/incremental/ec12e/ec12e_list.html

Each detent may give up to 4 increments when using a non-detent encoder. More info on this and on how to read multiple encoders using interrupts (and port expanders) here:

http://makeatronics.blogspot.com/2013/02/efficiently-reading-quadrature-with.html

https://www.eevblog.com/forum/beginners/rotary-encoder-pulses-and-detents-and-interrupts-vs-polling/

https://arduino.stackexchange.com/questions/52909/reading-several-rotary-encoders


LED ring:


Must decide if all or only one led is lit. Measure current used.

Can use a 7-segment display chip like the MAX7221


Light pipe solutions:
Laser cut a black ring with holes the size of the led. Put a diffused (engraved acrylic or milky white acrylic) and colored acrylic on top - will give clearly separated leds.

CNC a ring with holes, but slant the edges so they meet at the surface, will give minimum separation. May be a problem that viewing angle of the led does not spread the light enough.

Experiment with diffuser at top/bottom for increased spread

3D-print similar ring with slanted edges? Laser cut the bottom hole?

Make light pipes with separation, laser cut as a profile and mounted upright, will make it possible to have slanted edges in one dimmension,. with good internal reflection (?)

My initial tests of light pipes: https://atosynth.blogspot.com/2020/04/led-dial-light-pipes.html

A cool project with RGB ledring: https://muffwiggler.com/forum/viewtopic.php?t=217920

Knobs

White moog/boss style knobs:
https://lovemyswitches.com/knobs/?utm_source=share&utm_medium=ios_app
https://lovemyswitches.com/colored-boss-style-knob-knurled-shaft-11-x-20mm/
https://lovemyswitches.com/colored-boss-style-knob-1-4-smooth-shaft-11-x-20mm/
https://lovemyswitches.com/1360-tall-boy-knob-12-x-16mm/
Also has lots of other sizes but not white

Cheaper kn-13560 knobs: https://www.aliexpress.com/item/32430188458.html

https://www.conrad.com/p/alps-dk13-164a645-rotary-knob-for-encoder-with-plastic-shaft-rotary-button-700619

Switches

--> 6450 Marquardt
Cherry MX Low Profile

Other ideas:


Make the front panel detachable and use an RJ-45 to connect it to the synth, making it desktop friendly.

Morph functionality. Set A, set B (either patch or variation of patch). Big dial for morphing. Envelope based morph.

CNC'd mod wheels with acrylic inside?