I want to detect when the signal on the mix bus is about to clip, to be able to indicate it in the UI.
I initially intended to use the Elliot Sound Products clip detection circuit to do bipolar detection:

There are a few issues with this though. First of all, the output after the diodes is 0-10V, which is too high to be used directly with the mcu inputs.
Second, as I will not interface this directly with the mcu, but rather with the PCA9539 port expander, it won't trigger an interrupt. Instead, I have to poll the signal - so I need to latch the state whenever a clipping pulse is received, and reset state after I've read it.
It is possible to make an SR-latch using an op amp, as described here https://www.radiolocman.com/shem/schematics.html?di=463517 and here https://www.edn.com/use-an-op-amp-as-a-set-reset-flip-flop/

After a bit of fiddling with my simulation, I was able to come up with this circuit:

The output of the comparator op amps is +/- 10.4 approx. This is dropped to around 0-9.8 through the diodes. R3 and R4 divides the signal down to around 3.3V. It is then buffered, and inserted into the latch through the diode (dropping an additional 0.6V). R15 and R16 sets the value seen at the negative pole of the last op amp when in2 (reset signal) is turned off. R14 adjusts the reset voltage so we're able to reset the latch, and D3, R17 and R18 reduces the output from +/-10.4V to 0-3v3, ready for the MCU.
After even more fiddling, trying to reduce the number of components, I ended up with this:

It works just as well as the previous one.
 |
| Green: input at positive terminal of the right op amp. Blue: Reset signal. Red: latch output |
Now, I did a lot of testing with this circuit and it has one big issue. At frequencies of around 5kHz (with a triangle input) the comparators are too slow, so the peaks are not high or long enough to properly set the latch. As we get closer to 20kHz it simply stops working. If I lower the detection voltage (replace the 1k resistors with 2k2 for example), it works, but the clipping voltage level changes with frequency. That's not very good - though it may be GOOD ENOUGH.
Enter V2.
Let's do this the proper way.
By replacing the op amps with LM311 comparators, and the op amp-based latch with a real latch, CD4043, things work fine all the way up to 20kHz+:

The CD4043 is driven from a 3v3/GND PSU, so level shifting is not necessary.

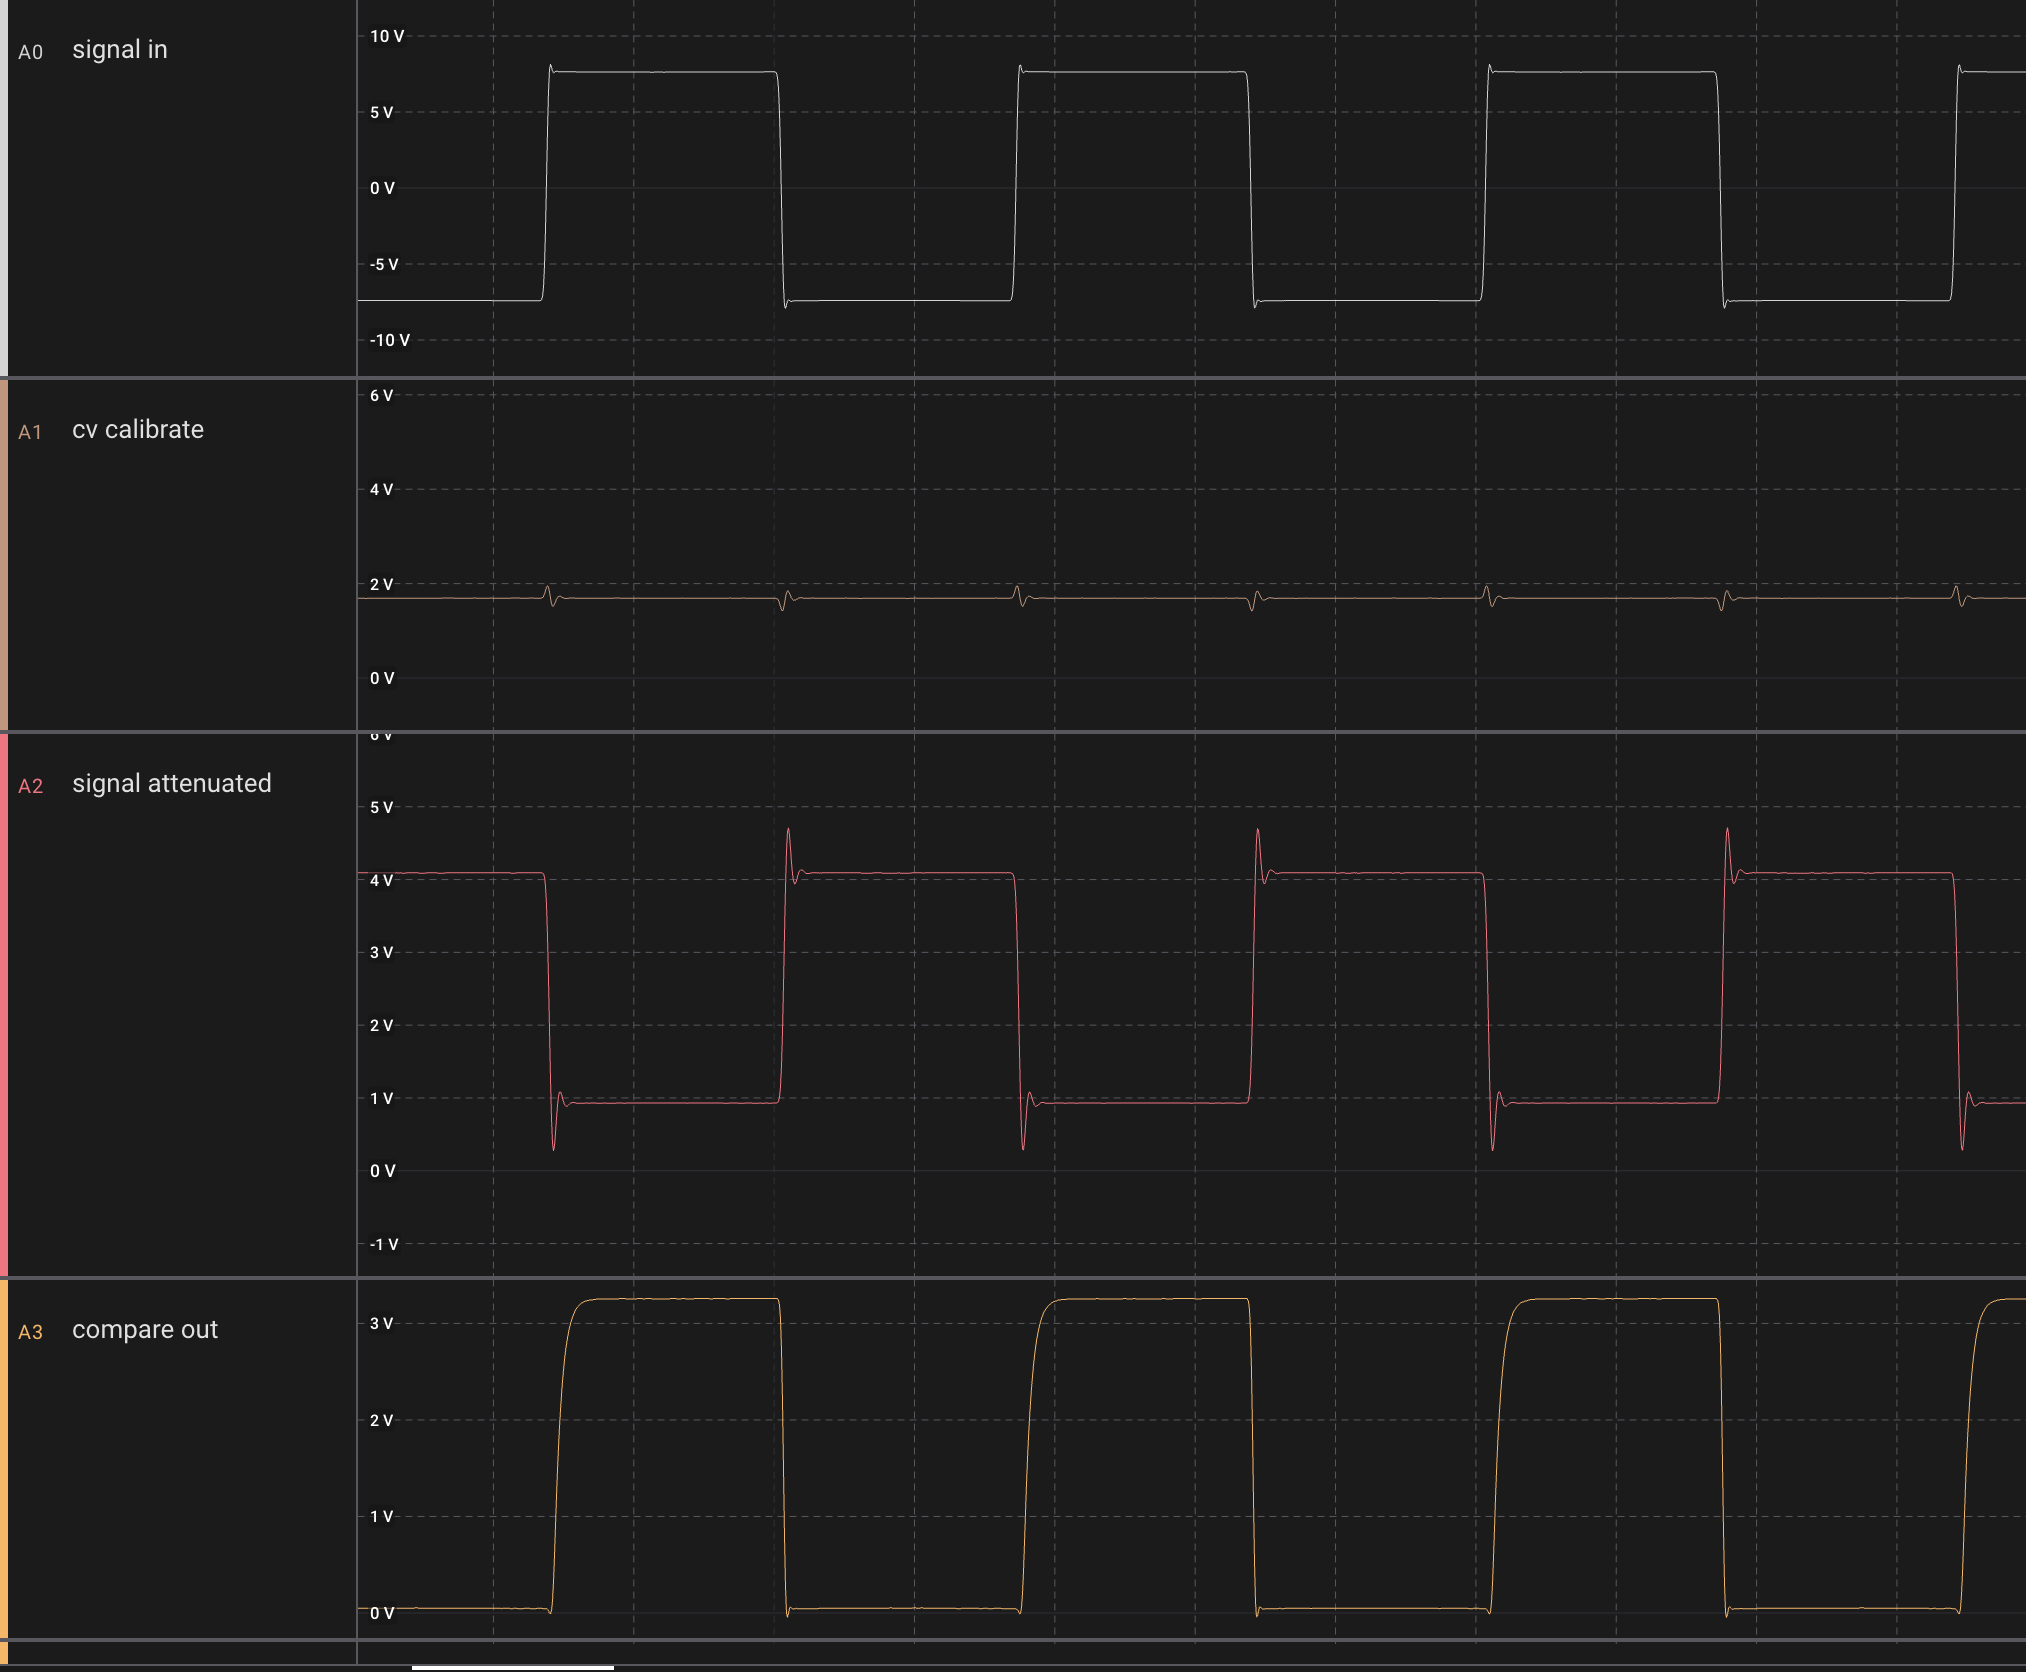
An imporant thing to note here is that the top comparator has the collector (pin 7) connected to 3v3 and the emitter (pin 1) connected to GND through a 10k resistor. In this configuration, the output (connected to pin 1) will be high whenever the voltage at the negative input (3) - our signal - is higher than the voltage we compare against (2, 10V), and the voltage range is 0 to 2.7 approx. CMOS inputs are considered ON when the voltage is > 2V (for 3v3 supplies) so this is fine.
For the bottom comparator, the collector is connected to 3v3 through a 10k resistor and the emitter is grounded. The output (connected to pin 7 this time) is positive whenever the voltage at the negative input (3) - our signal - is lower than the voltage we compare against (2, -10V).
As the signals are fed into different latches (there are four available in one CD4043), we actually have separate clipping indicators that we could read if we wanted to. This is not necessary for my use, so I simply combine them using two diodes (again, dropping the voltage, but it still works with the PCA9539).
 |
| Positive clipping only |
 |
| Negative clipping only |
Some action shots
White = reset signal
Brown = clipping state, as seen by microcontroller
Orange = output from CD4043 comparator (v2)
Red = output from LM311 comparator for high clipping
Blue = output from op amp latch (v1)
Yellow = input signal from function generator
 |
| 4.8Hz input, says 19.5Vpp on function generator (fg) but is about 20Vpp measured. Both versions trigger |
 |
| 48Hz, 19.4Vpp on fg. Both versions trigger |
 |
| 517Hz, 19.4Vpp on fg. Only v2 triggers. |
 |
| 517Hz, 19.5Vpp on fg. Both versions trigger again. |
 |
| 5kHz, 19.4Vpp on fg. Vmax is > 10V so both should trigger. Only v2 triggers |
 |
| 5kHz. We have to go all the way to 20.1Vpp on the fg to get v1 to trigger |
 |
| 10kHz, have to increase to 20.5Vpp on fg to get v1 to trigger |
 |
| 20kHz, v1 doesn't trigger even at 20.9Vpp on fg |